FEM tutorial/es
| Tema |
|---|
| Análisis de Elemento Finito |
| Nivel |
| Principiante |
| Tiempo para completar |
| 10 minutos + tiempo del Solver |
| Autores |
| Drei |
| Versión de FreeCAD |
| 0.16 o superior |
| Archivos de ejemplos |
| Ver también |
| None |
Introduction
Introducción
Este tutorial tiene como propósito el introducir al lector a la forma de trabajo básica del módulo FEM, así como a la mayoría de las herramientas disponibles para realizar un análisis estático.
Requirements
Requisitos
- FreeCAD versión 0.16 superior
- Netgen y/o GMSH está instalado en el sistema
- Para el caso de GMSH, se recomienda instalar el macro de psicofil's macro
- Calculix está instalado en el sistema
- El lector tiene el conocimiento básico para utilizar los módulo Part y PartDesign
Procedimiento
Modeling
Modelado
En este ejemplo un Cubo es utilizado como objeto de estudio, pero modelos creados en los bancos de trabajo Parte y Diseño de Parte pueden ser utilizados en su lugar.
- Crear un nuevo documento
- Activar el módulo Part
- Crear un Cubo
- Cambiar sus Dimensiones a las siguientes:
- Altura: 1.000 mm
- Longitud: 8.000 mm
- Ancho: 1.000 mm
Ahora tenemos un modelo con el que se puede trabajar.
Creating the Analysis
- Activate the
 FEM Workbench.
 - Select the Model →
 Analysis container option from the menu.
Constraints and Forces
Restricciones y Fuerzas
- Oculte la malla desde la Vista de Árbol
- Muestre el modelo original
- Seleccione
 Crear una restricción FEM fija
 - Seleccione la cara trasera del Cubo (la cara ubicada en el plano YZ ) y dé clic en OK
- Seleccione
 Crear una restricción FEM de fuerza
 - Seleccione la cara frontal del Cubo (la cara paralela a la cara trasera) y especifique el valor de Carga Superficial a 9000000.00
- Fije la Direcciónn a -Z seleccionando una de las aristas paralelas a esa dirección
- Clic OK
Hemos establecido las restricciones y fuerzas para nuestro estudio estático.
Material
Preparaciones finales
- Seleccione
 Material Mecánico... y seleccione Calculix como el material
 - Clic OK
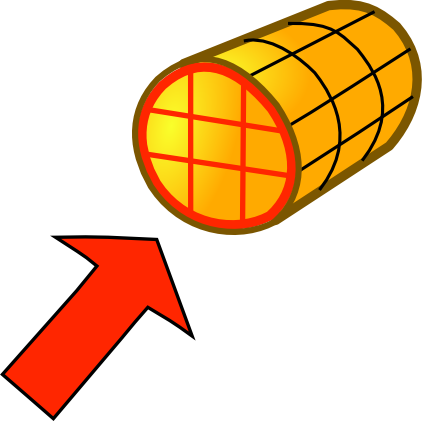
Meshing
It is recommended to make a mesh as the last step in the analysis preparations due to association to a geometry in FreeCAD. Depending on FreeCAD installation, there can be Netgen or GMSH meshers, you can use any of them.
Netgen
Creando el análisis
Netgen
- Seleccione el modelo
- Clic en
 Nuevo Análisis Mecánico desde el menú para crear un análisis con el objeto seleccionado
 - En el diálogo de mallado, dé clic en OK
También es posible arrastrar y depositar una malla a un Análisis Mecánico que no contenga una malla desde la vista del árbol
GMSH
- Select the model
 FEM mesh from shape by Gmsh: Generates a finite element mesh for a model using Gmsh.
- In the meshing dialog, click Apply and OK.
Hemos mallado nuestro objeto y estamos listos para agregar restricciones y fuerzas.
Running the Solver
Standard Procedure
- Select the solver object
 contained in the Analysis container.
 - Select
 Solver job control from the menu.
 - Select Write .inp File.
- Select Run CalculiX.
- Click OK.
Quick Procedure
- Select the solver object contained in the Analysis container.
- Click on
 Run solver calculations.
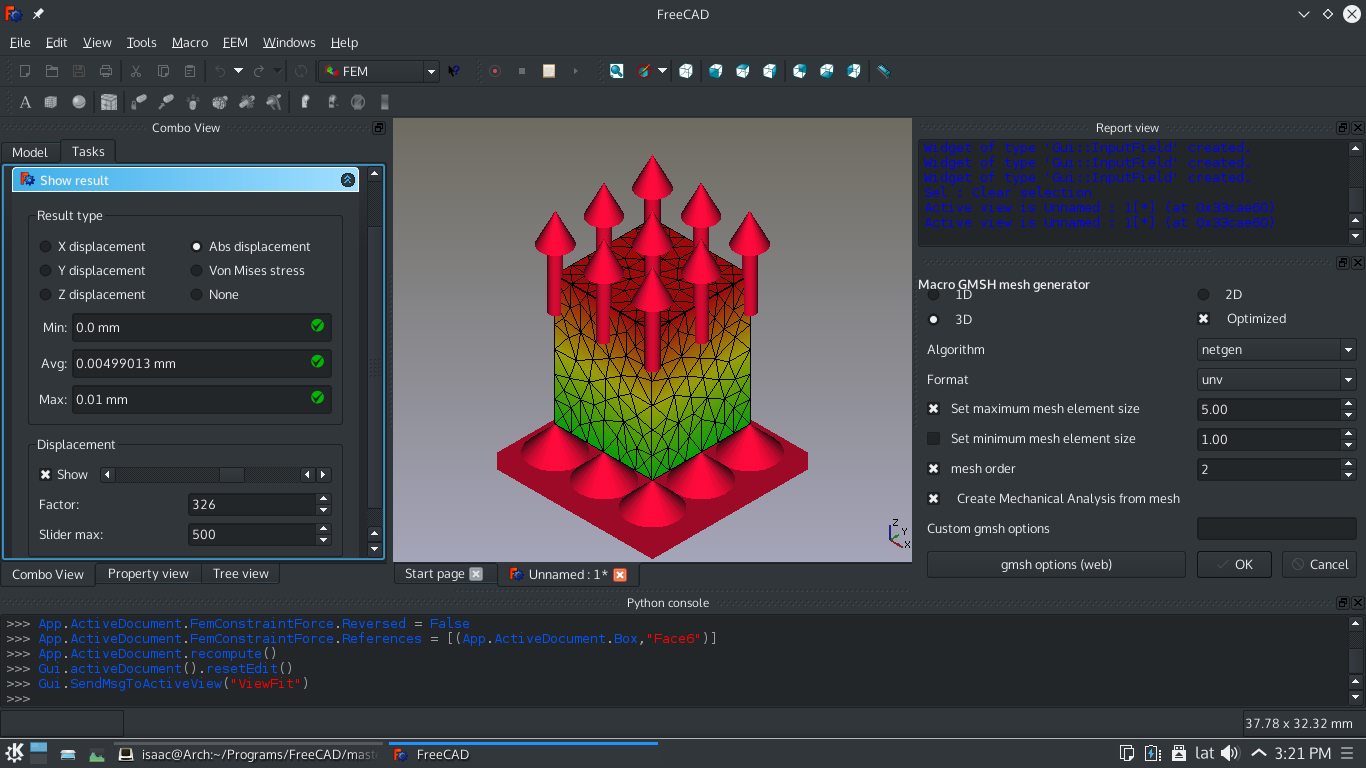
Analyzing Results
- From the Object Tree, select the CCX_Results object.
- Select
 Show result.
 - Choose among the different Result types to view the results.
- The slider at the bottom can be used to alter the mesh visualization. This allows us to visualize the deformation experienced by the object, keep in mind that this is an approximation.
- To remove the results select
 Purge results.
If you select the Z displacement result type, you can see that the obtained value is almost identical to the test example provided by FreeCAD. Differences may occur due to the quality of the mesh and the number of nodes it possesses.
We are now finished with the basic workflow for the FEM Workbench.
Notes
- For a video tutorial based on this written tutorial watch: FEM MaterialReinforced tutorial.
- Materials: Solid, Fluid, Nonlinear mechanical, Reinforced (concrete); Material editor
- Element geometry: Beam (1D), Beam rotation (1D), Shell (2D), Fluid flow (1D)
Constraints
- Electromagnetic: Electrostatic potential, Current density, Magnetization
- Geometrical: Plane rotation, Section print, Transform
- Mechanical: Fixed, Displacement, Contact, Tie, Spring, Force, Pressure, Centrif, Self weight
- Thermal: Initial temperature, Heat flux, Temperature, Body heat source
- Overwrite Constants: Constant vacuum permittivity
- Solve: CalculiX Standard, Elmer, Mystran, Z88; Equations: Deformation, Elasticity, Electrostatic, Electricforce, Magnetodynamic, Magnetodynamic 2D, Flow, Flux, Heat; Solver: Solver control, Solver run
- Results: Purge, Show; Postprocessing: Apply changes, Pipeline from result, Warp filter, Scalar clip filter, Function cut filter, Region clip filter, Contours filter, Line clip filter, Stress linearization plot, Data at point clip filter, Filter function plane, Filter function sphere, Filter function cylinder, Filter function box
- Additional: Preferences; FEM Install, FEM Mesh, FEM Solver, FEM CalculiX, FEM Concrete; FEM Element Types
- Getting started
- Installation: Download, Windows, Linux, Mac, Additional components, Docker, AppImage, Ubuntu Snap
- Basics: About FreeCAD, Interface, Mouse navigation, Selection methods, Object name, Preferences, Workbenches, Document structure, Properties, Help FreeCAD, Donate
- Help: Tutorials, Video tutorials
- Workbenches: Std Base, Assembly, BIM, CAM, Draft, FEM, Inspection, Material, Mesh, OpenSCAD, Part, PartDesign, Points, Reverse Engineering, Robot, Sketcher, Spreadsheet, Surface, TechDraw, Test Framework
- Hubs: User hub, Power users hub, Developer hub