Render Workbench
Introduction
The Render Workbench let's you produce high-quality images from FreeCAD models, using open-source external rendering engines.
-
Barcelona pavilion
Screenshot -

Barcelona pavilion
Povray rendering -
Barcelona pavilion
Cycles rendering -
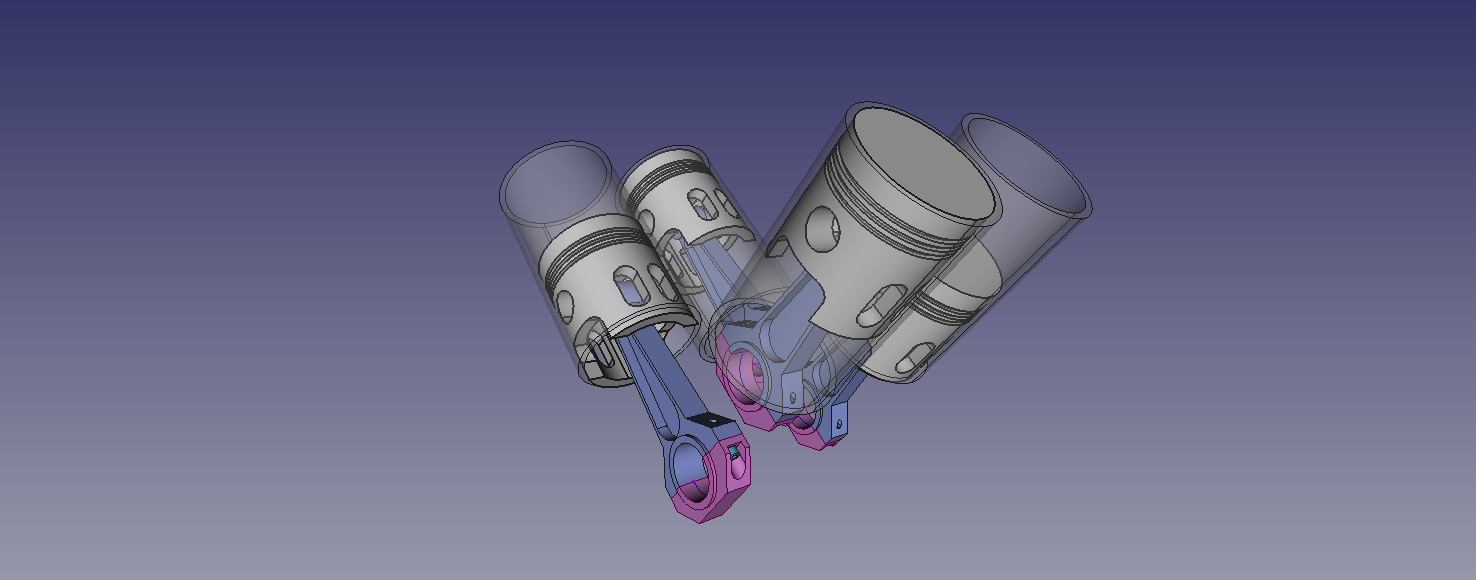
Asm V4
Screenshot -
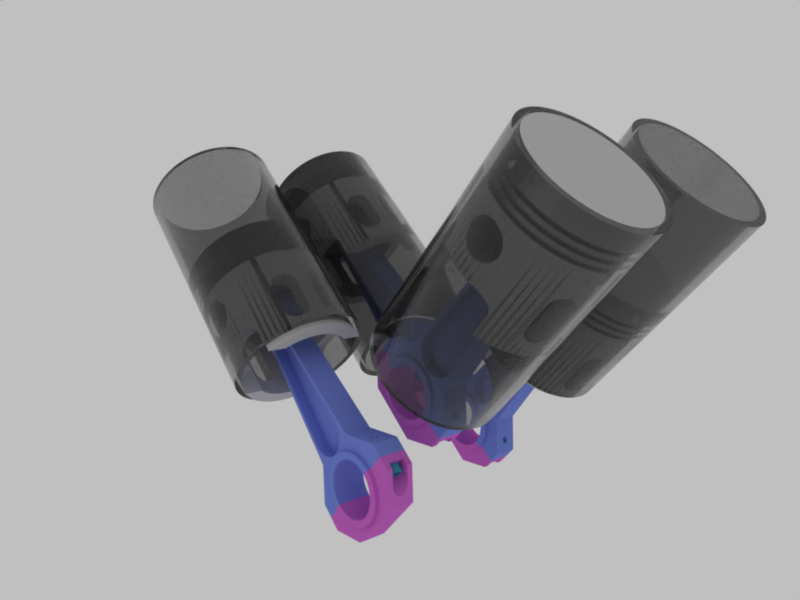
Asm V4
LuxCore rendering -
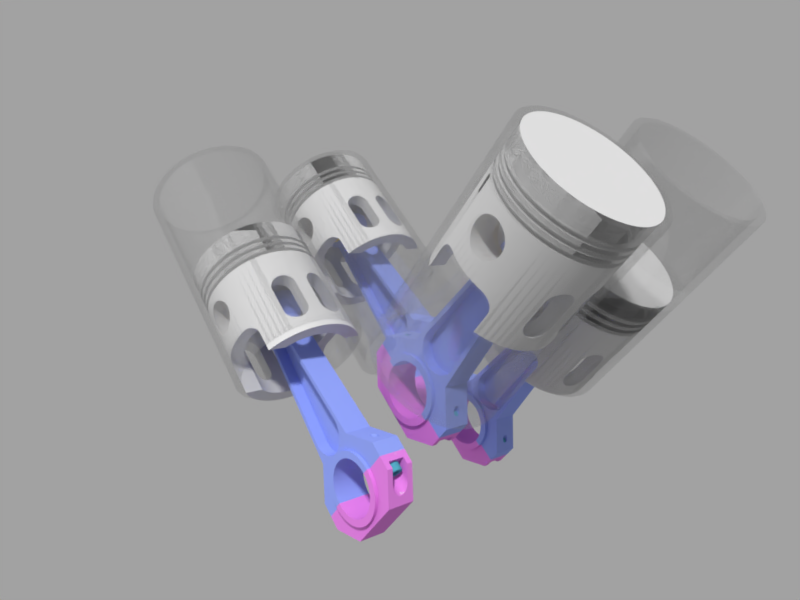
Asm V4
Ospray rendering -
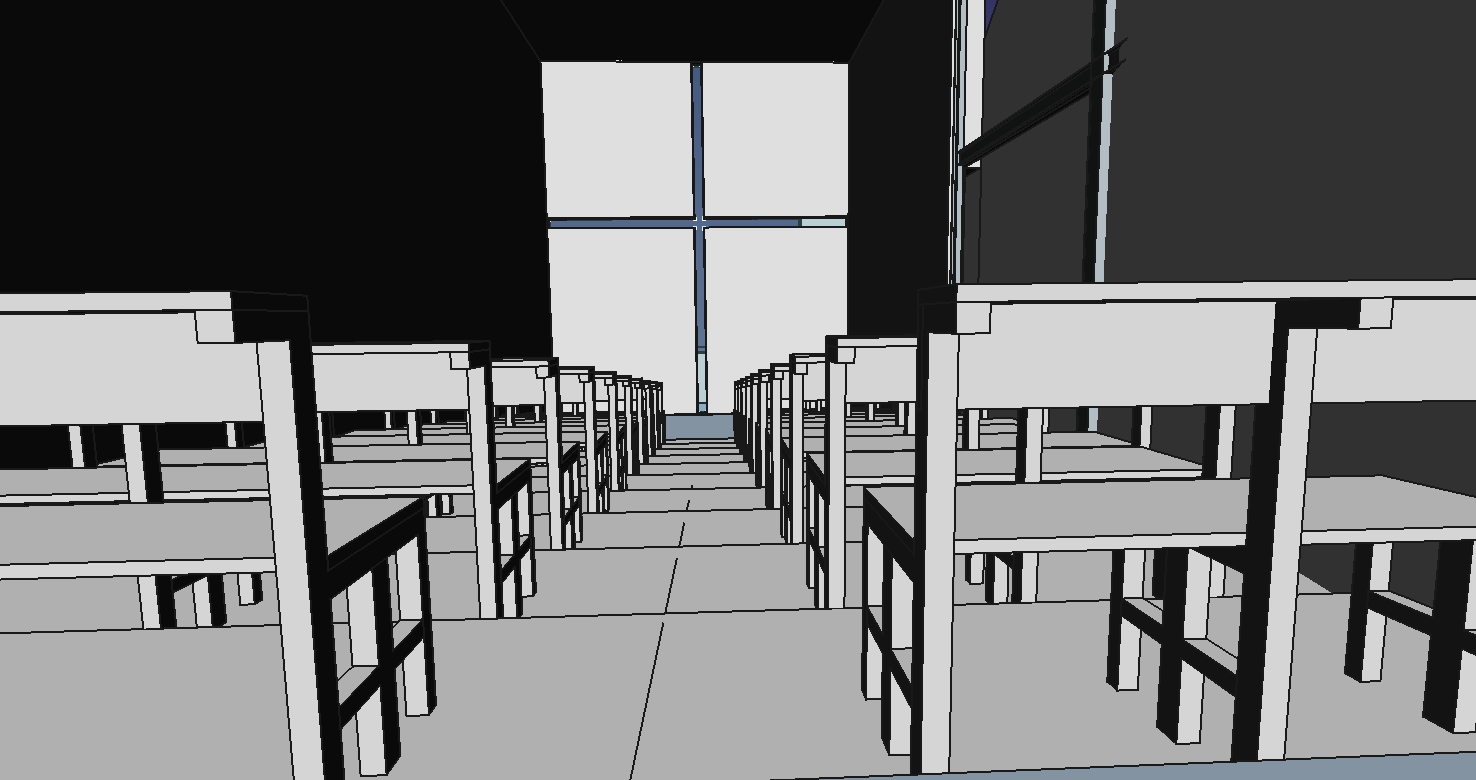
Church of the light
Screenshot -
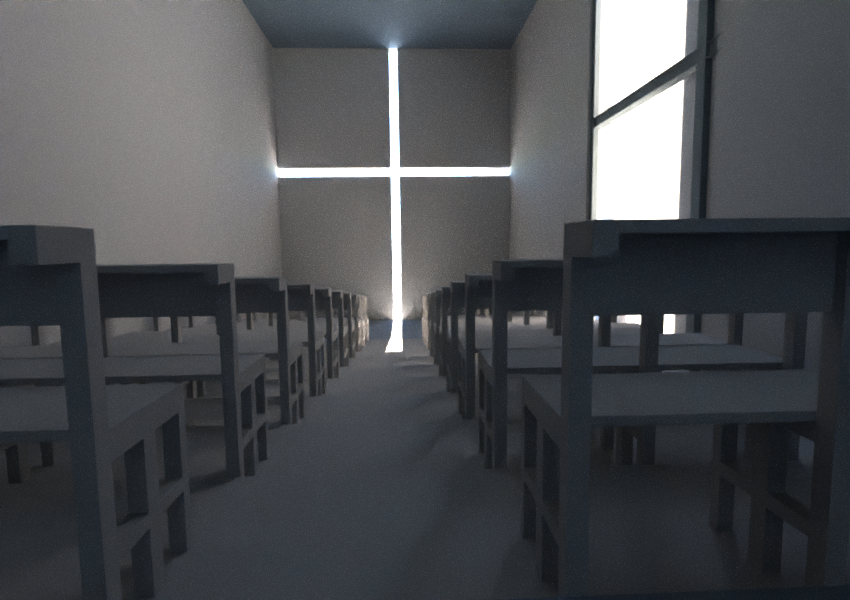
Church of the light
LuxCore rendering -
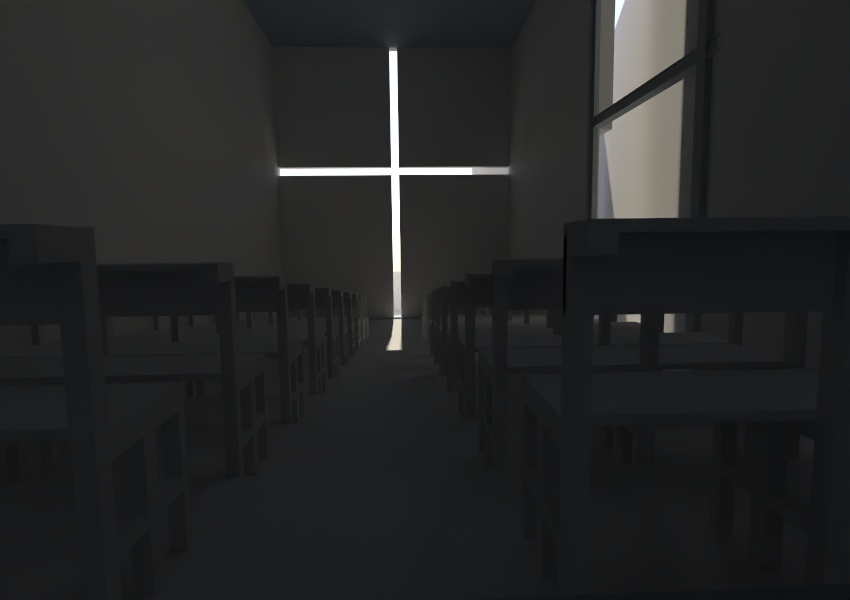
Church of the light
Cycles rendering -
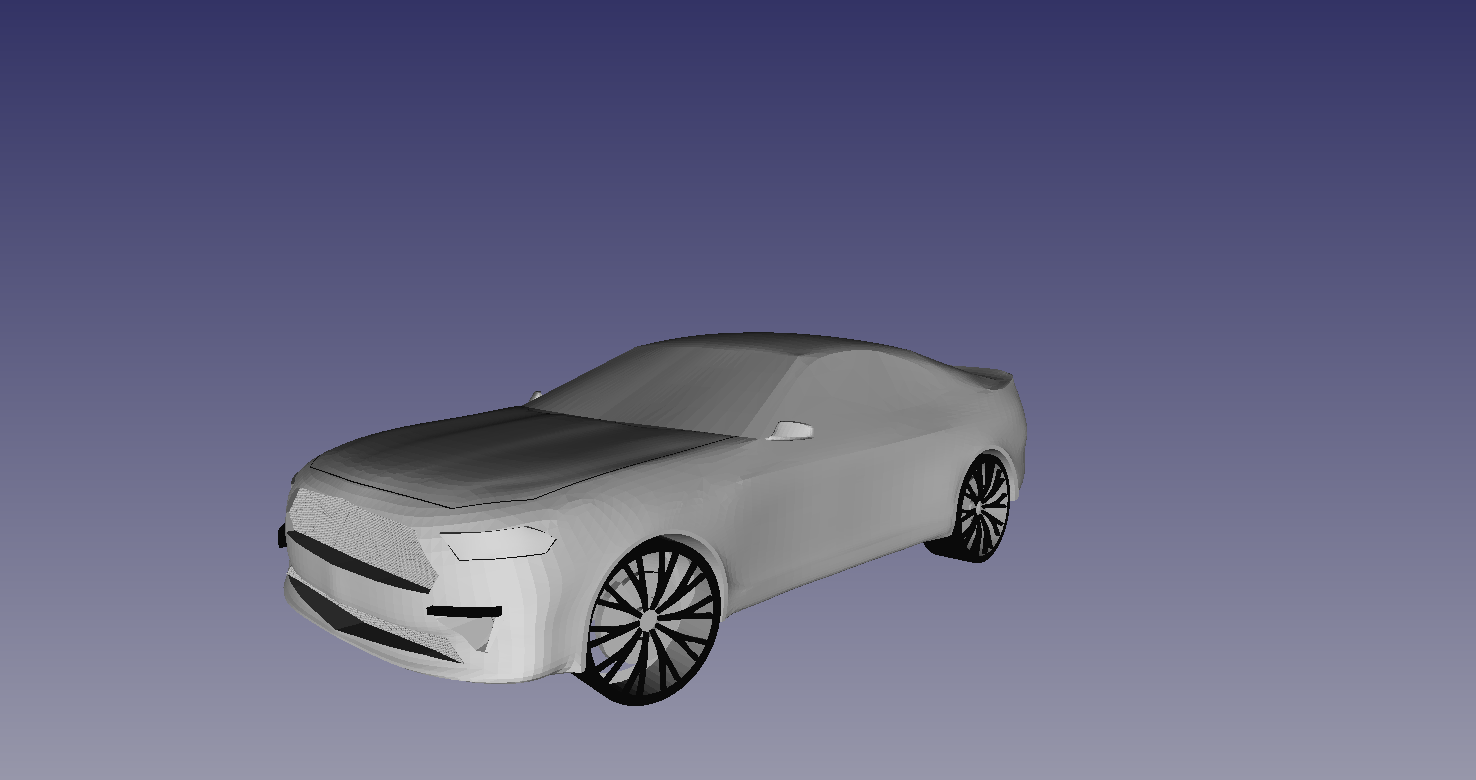
Car
Screenshot -
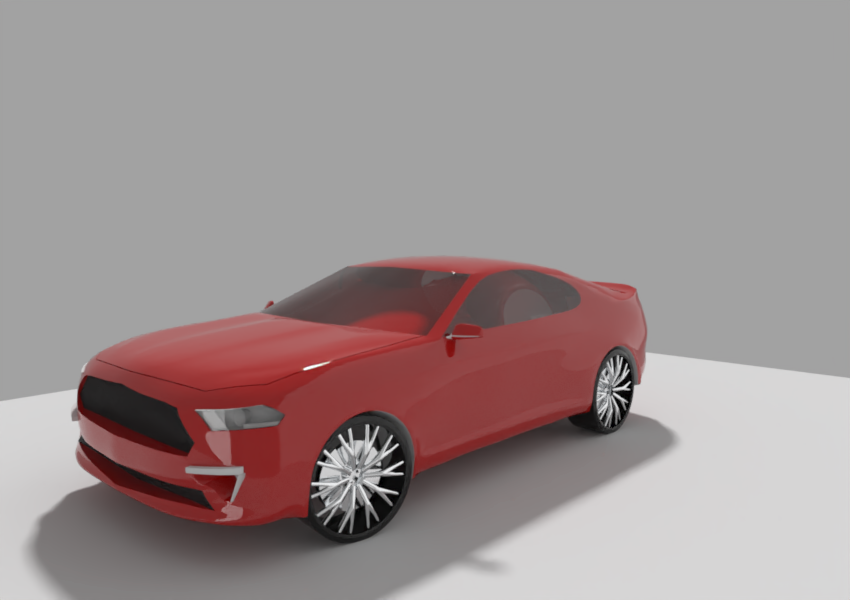
Car
Ospray rendering -
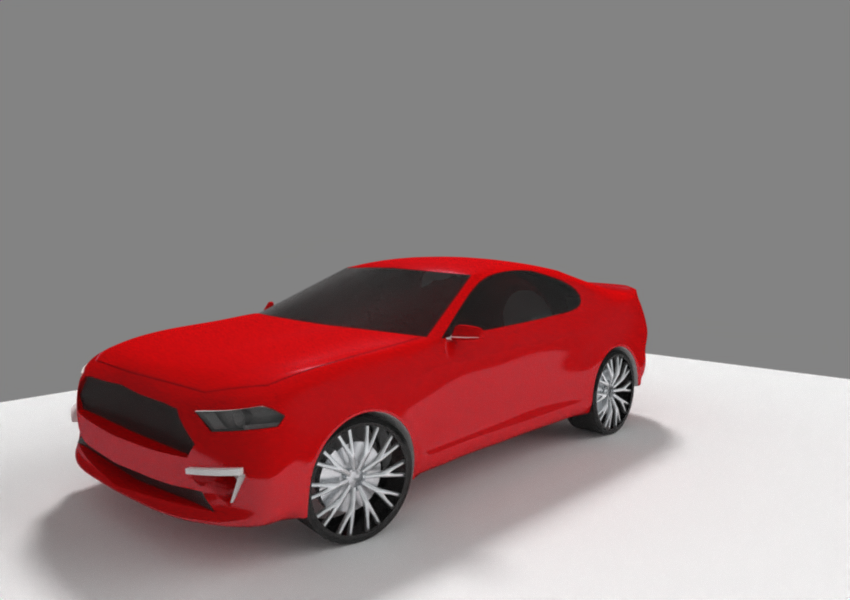
Car
LuxCore rendering -
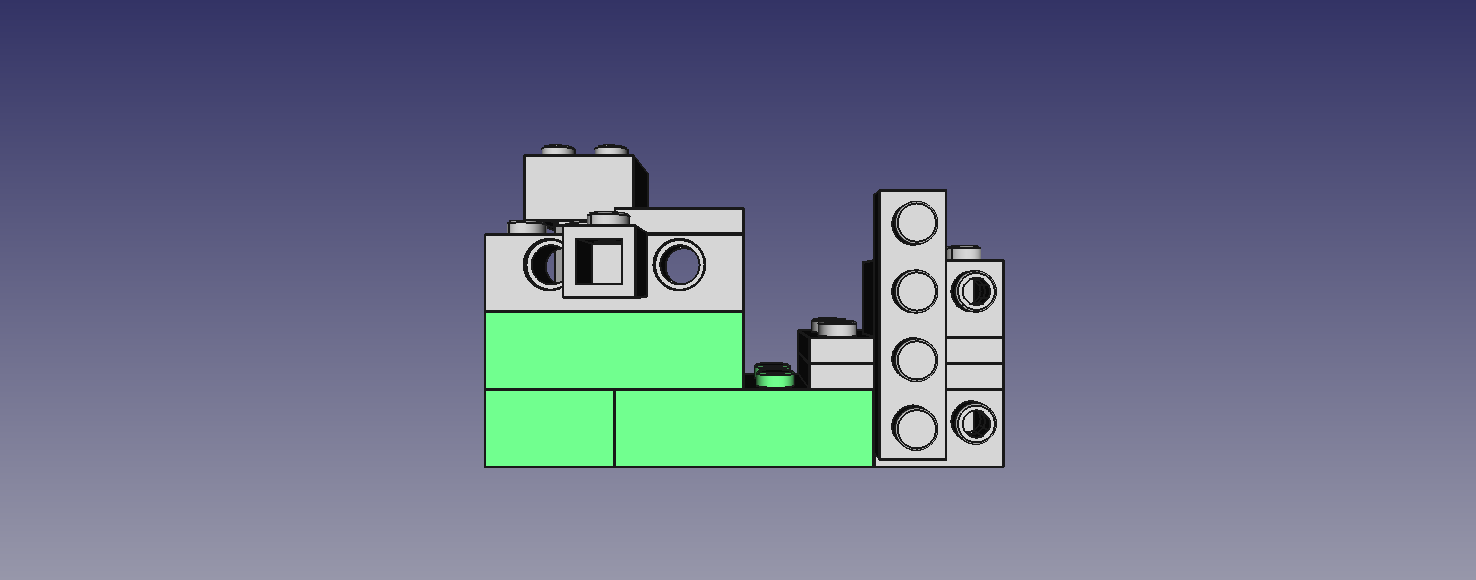
Brick assembly
Screenshot -
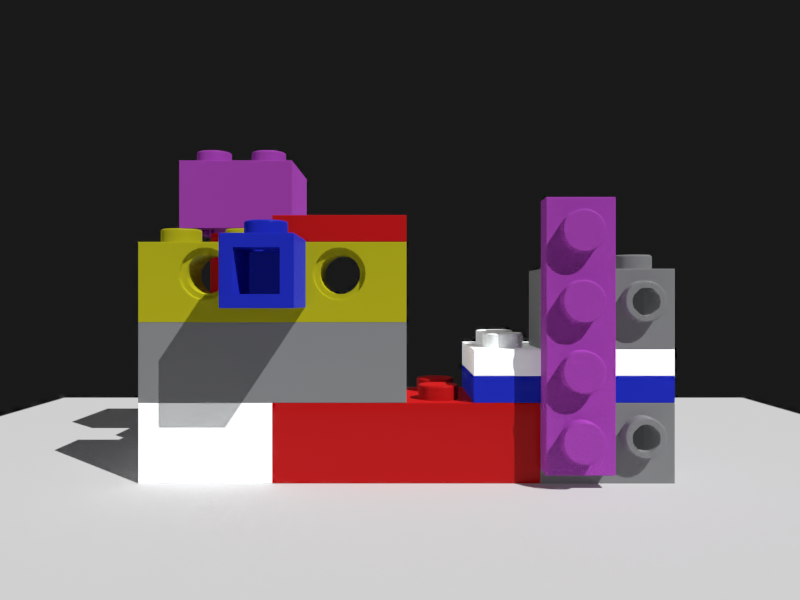
Brick assembly
Appleseed rendering -
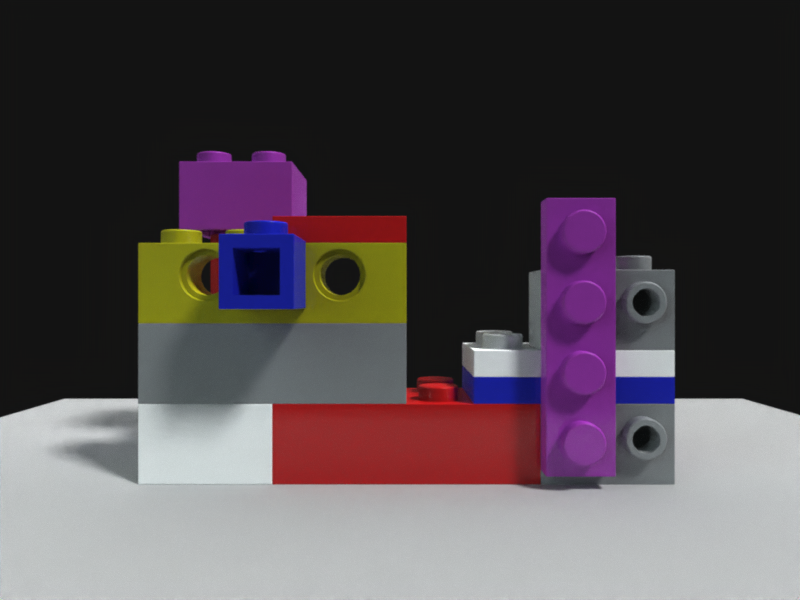
Brick assembly
Luxcore rendering -
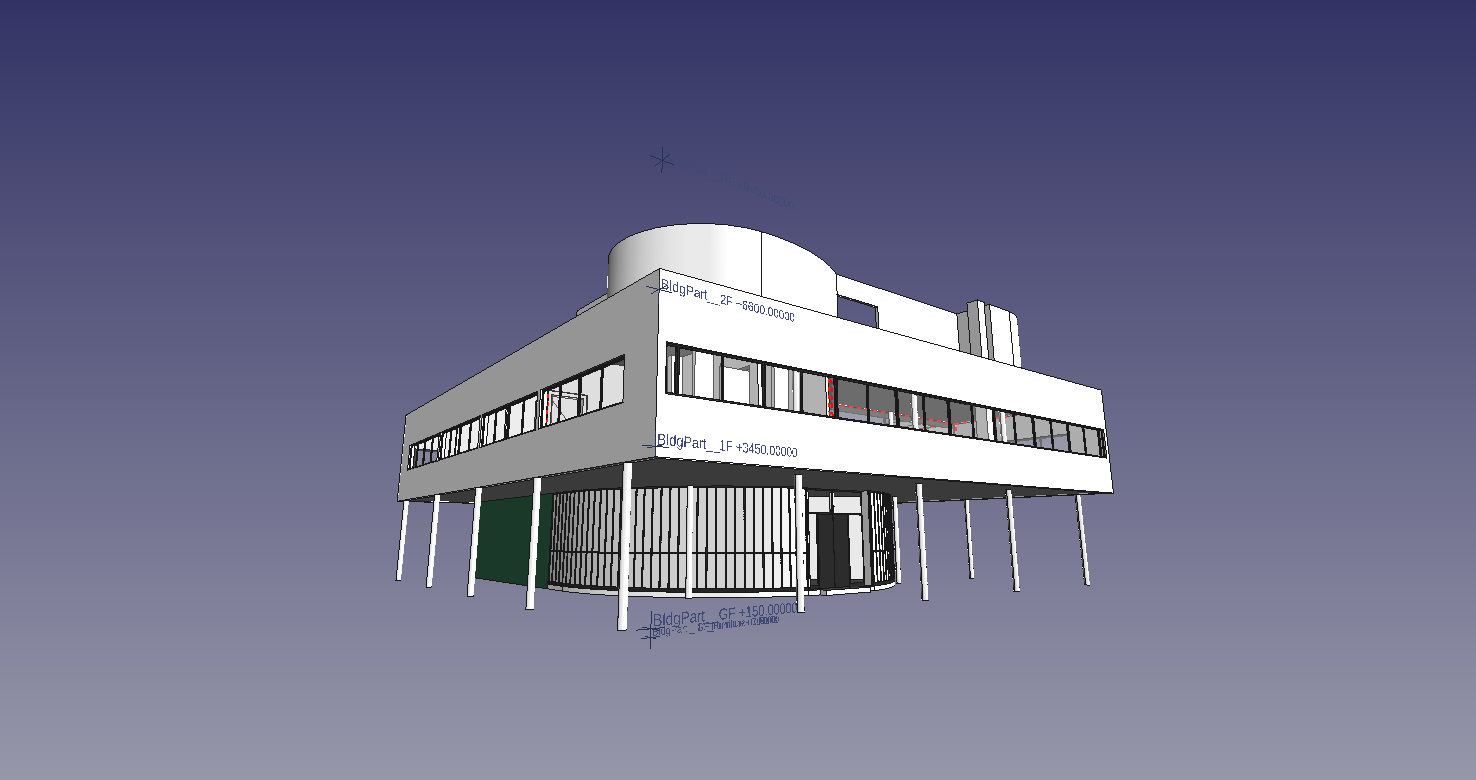
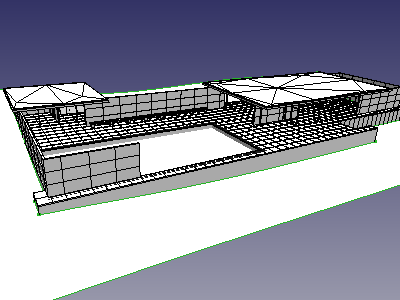
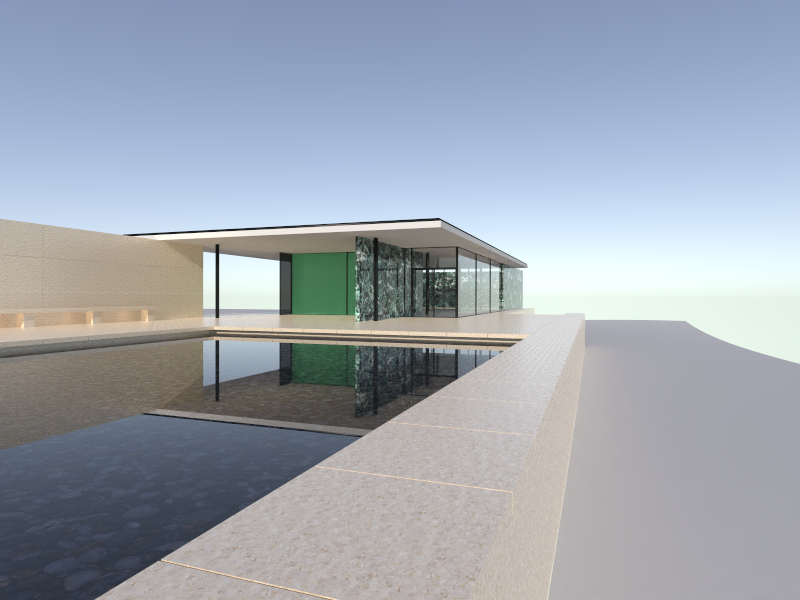
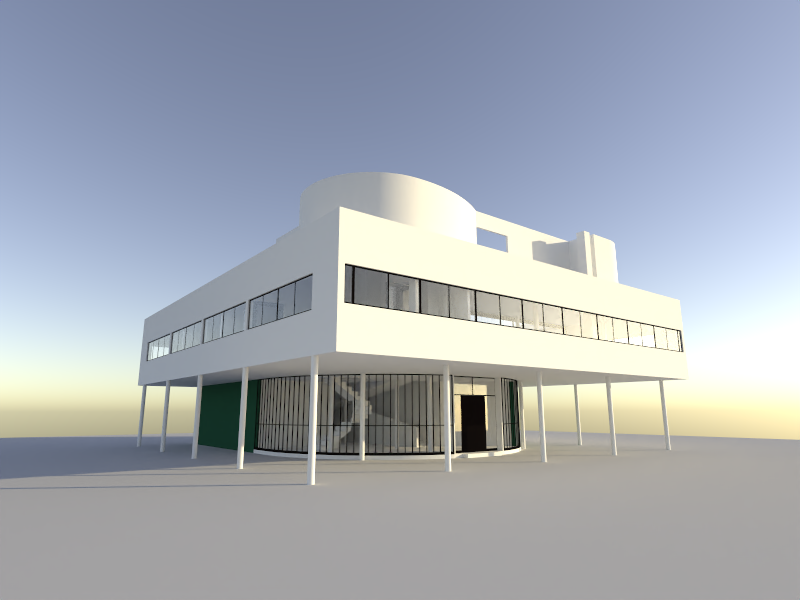
Villa Savoye
Screenshot -
Villa Savoye
Appleseed rendering -
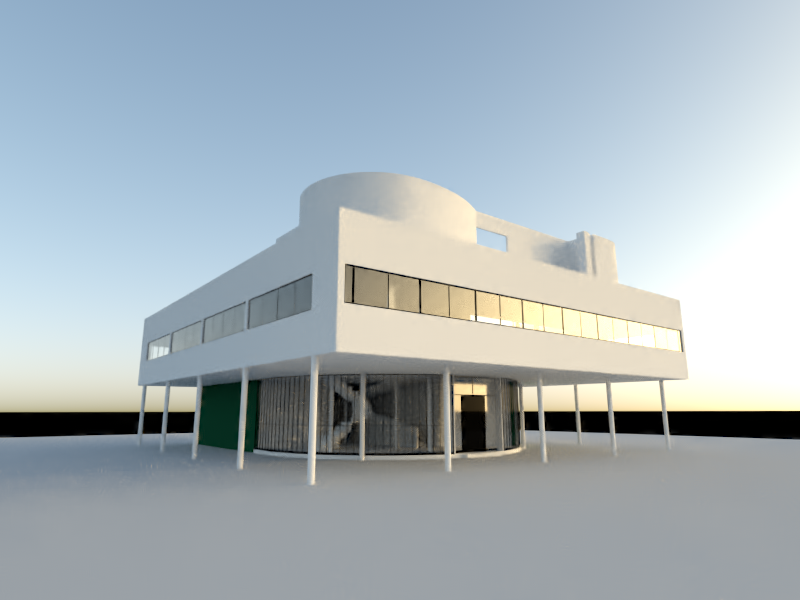
Villa Savoye
Cycles rendering
A pure Python workbench, Render is seamlessly integrated in FreeCAD: the whole rendering scene - objects, lighting, materials, camera, etc. - can be described with FreeCAD objects, to be exported to external renderers.
Compared with other approaches based on third-part computer graphics applications, Render aims to:
- Avoid the user to learn another 3D/computer graphics software: everything you need to know is in FreeCAD.
- Simplify rendering workflow and relieve user from any intermediate file manipulation - like import, export, scene retouching etc.
- Make scene configuration persistent and especially prevent rework in an external tool each time the model has been modified.
Supported renderers
At the moment six rendering engines are supported:
- LuxCoreRender
- Appleseed
- Cycles (standalone version)
- Pov-Ray
- Intel Ospray Studio
- Pbrt-v4 (experimental)
Usage
In quick-start mode, after workbench installation has correctly been done, rendering a FreeCAD model is just a 4-step process:
- Create a rendering project: Press the button in the toolbar corresponding to your renderer and select a template suitable for your renderer (you may start with a 'studio' flavour, like appleseed_studio_light.appleseed, cycles_studio_light.xml, luxcore_studio_light.cfg, povray_studio_light.pov etc.).
- Add views of your objects to your rendering project: Select both the objects and the project, and press the Add view button.
- Set your point of view: Navigate in the 3D View to the desired position and switch to perspective mode.
- Render: Select your project and press the Render button in toolbar (also available from project's context menu).
And you should get a first rendering of your model.
More instructions can be found in the GitHub repository or the online help.
Features
Features include, but are not limited to:
- Lighting: point lights, area lights, sun-sky and preset lighting templates.
- Cameras.
- Material management (using usual shaders: matte, glossy, glass, principled etc.) including textures.
- Batch mode / UI mode.
- Denoiser.
- Halt condition (sample per pixel).
- Meshing control: angular and linear deflections, auto-smoothing.
Links
More info? Just follow the link: https://github.com/FreeCAD/FreeCAD-render
- Getting started
- Installation: Download, Windows, Linux, Mac, Additional components, Docker, AppImage, Ubuntu Snap
- Basics: About FreeCAD, Interface, Mouse navigation, Selection methods, Object name, Preferences, Workbenches, Document structure, Properties, Help FreeCAD, Donate
- Help: Tutorials, Video tutorials
- Workbenches: Std Base, Assembly, BIM, CAM, Draft, FEM, Inspection, Material, Mesh, OpenSCAD, Part, PartDesign, Points, Reverse Engineering, Robot, Sketcher, Spreadsheet, Surface, TechDraw, Test Framework
- Hubs: User hub, Power users hub, Developer hub